Linuxカーネルデバッグ その5(CodeComposerStudio)
CodeComposerStudio v8.1.0(CCS)のインストールと設定を行う。
ホストOSはUbuntu 16.04.4。
インストール
CCSのインストーラをTIのダウンロードページ
(Download CCS - Texas Instruments Wiki)
からダウンロードする。ここではLinux用のOff-line Installersを使用する。
ダウンロードしたインストーラを適当なフォルダで解凍する。
tar xf CCS8.1.0.00011_linux-x64.tar.gz
解凍されたフォルダへ移動して、インストーラを起動する。
cd CCS8.1.0.00011_linux-x64/
sudo ./ccs_setup_linux64_8.1.0.00011.bin
インストーラが起動し、以下の警告がでる。
Please unplug the USB cables for all LaunchPads and Debug Probes prior to continuing. This is required to ensure driver installation completes.
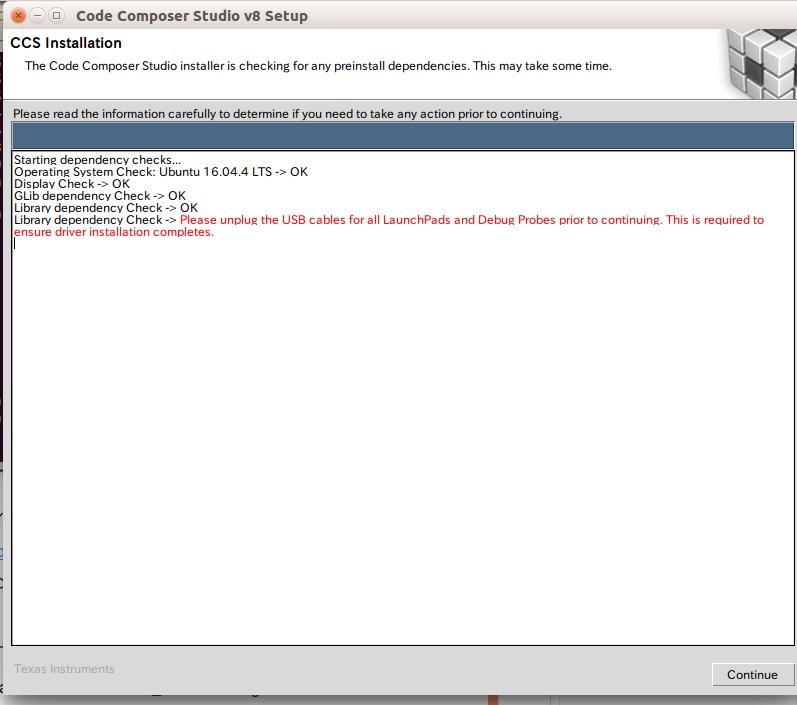
デバッガなどを抜いた状態で「Continue」を押下する。
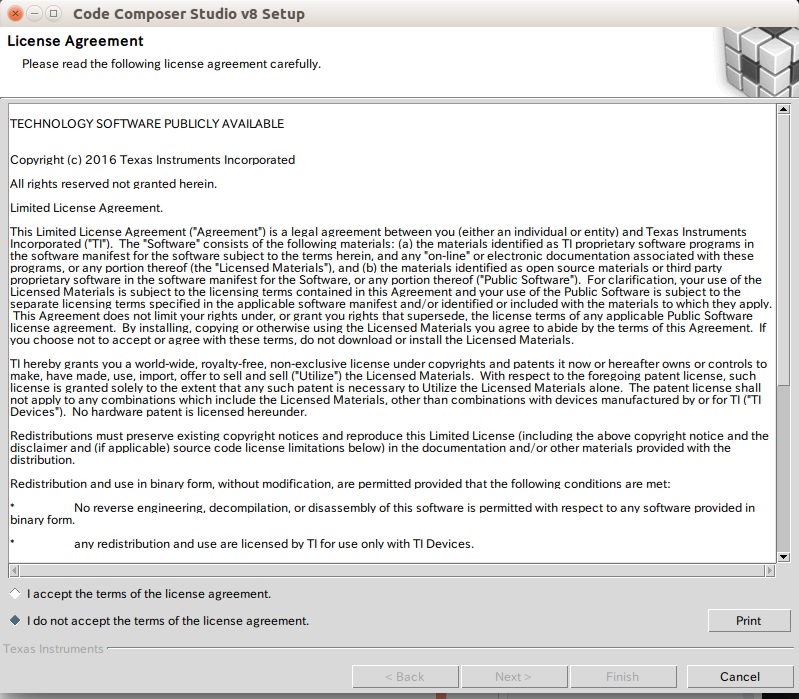
ライセンスが表示されるので、
I accept the terms of the license agreement
を選択し、「next」を押下する。
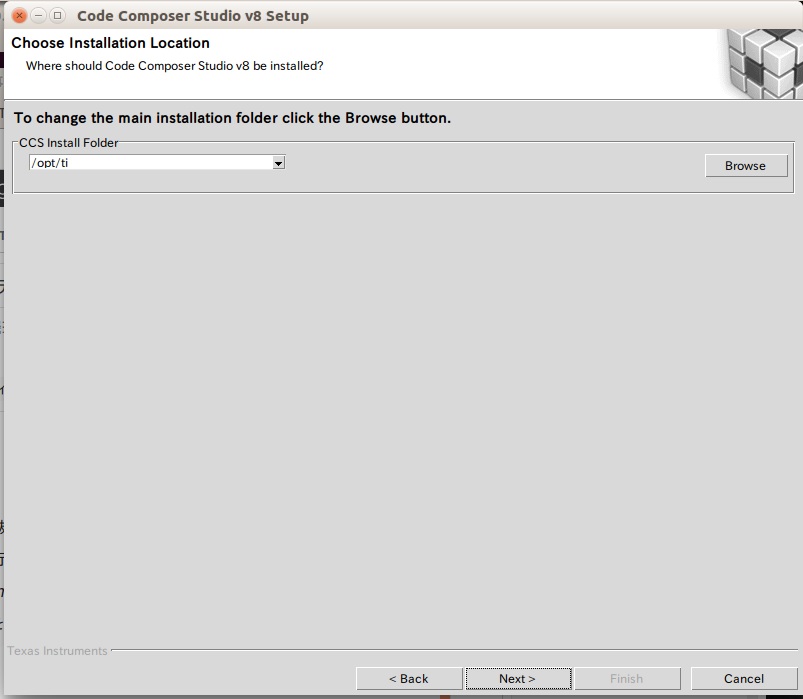
インストール先を指定する。
ここではデフォルトの/opt/tiのまま「next」を押下する。
すでに存在する場合は警告がでるが、「yes」を押下する。
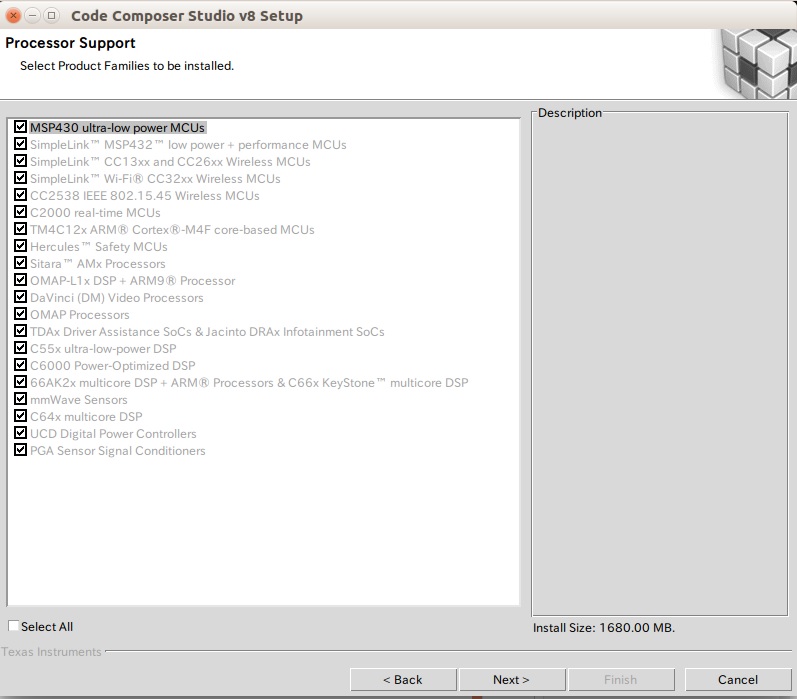
インストールするパッケージを選択する画面になるが、選べない(?)ので「Next」を押下する。
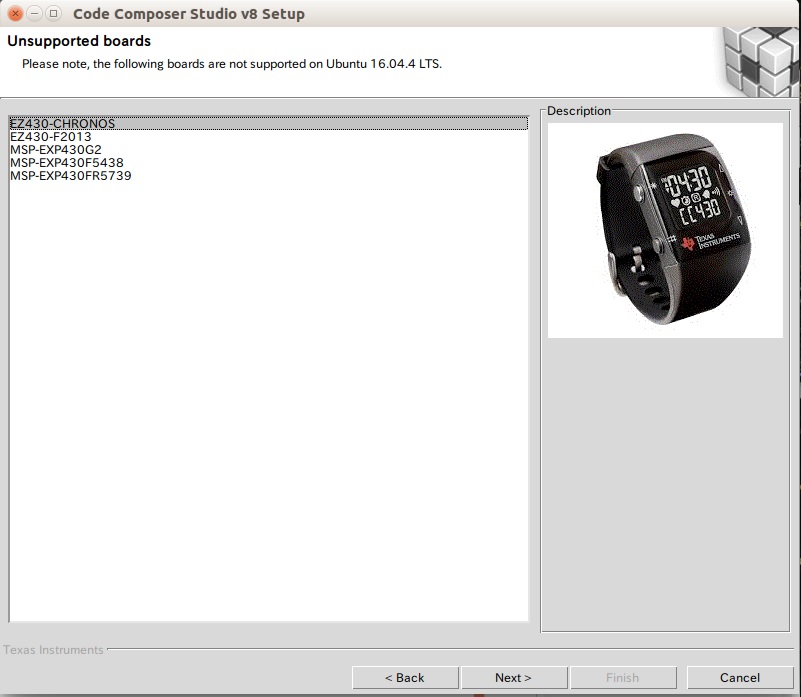
未サポートのデバイスについての情報が表示される。「Next」を押下する。
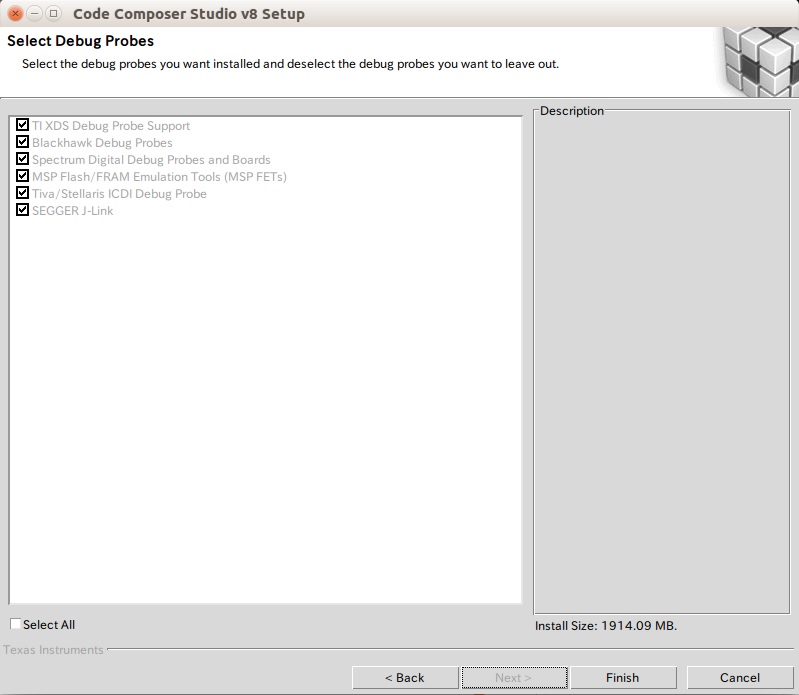
デバッガ選択画面になるが、選べない(?)ので「Finish」を押下する。
インストールが開始される。
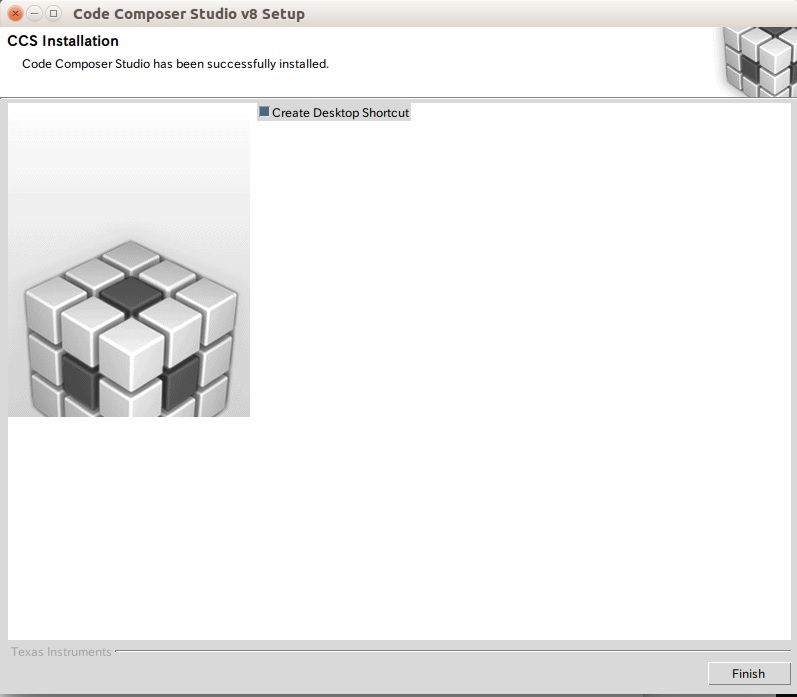
インストール完了画面が表示されたら「Finish」を押下する。
引き続き、ドライバのインストールを行う。
cd /opt/ti/ccsv8/install_scripts
sudo ./install_drivers.sh
念の為、再起動する。
設定
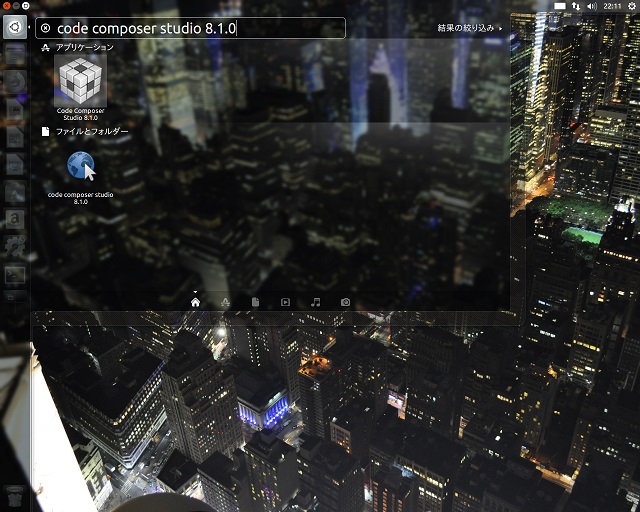
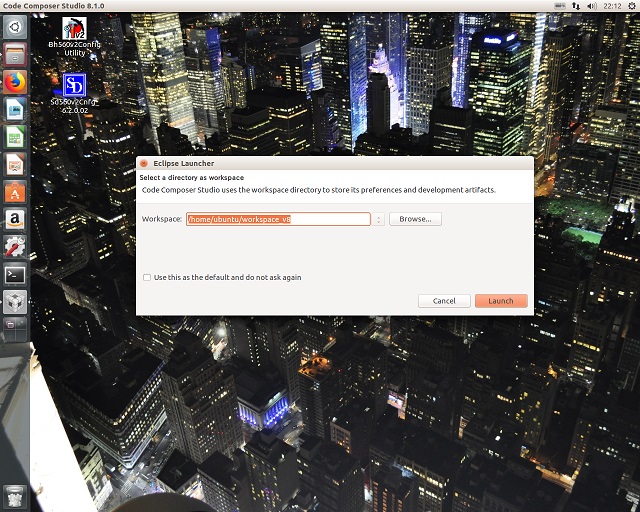
「 コンピュータを検索」からCCSを起動する。
workspaceの保存位置を聞かれる。ここではデフォルトのまま起動する。
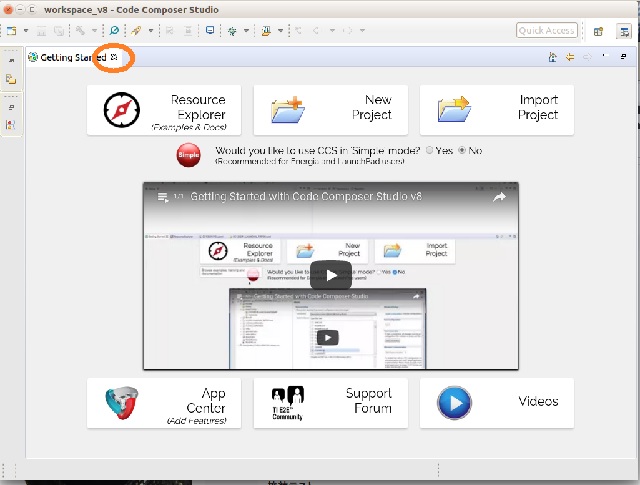
「Getting Started」の画面が出たら、「×」で閉じる。
メニューの「View」から「Target Connection」ウィンドウを選び表示する。
User Definedを右クリックして、New Target Configurationを選ぶと、ファイル名を聞かれるので、ここではBeagleBoneBlack.ccxmlとしておき、「Finish」を押下する。 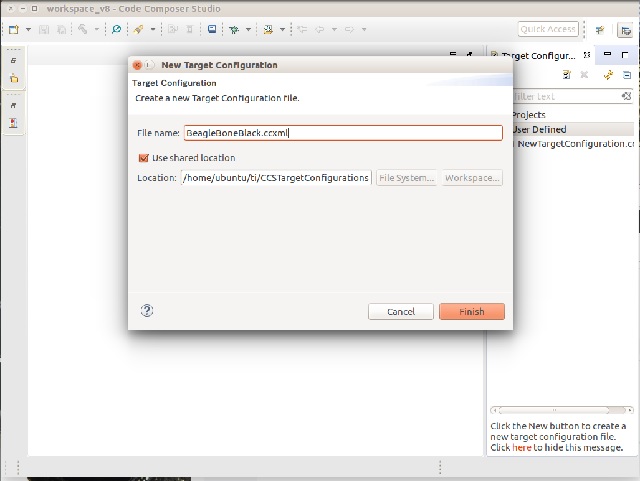
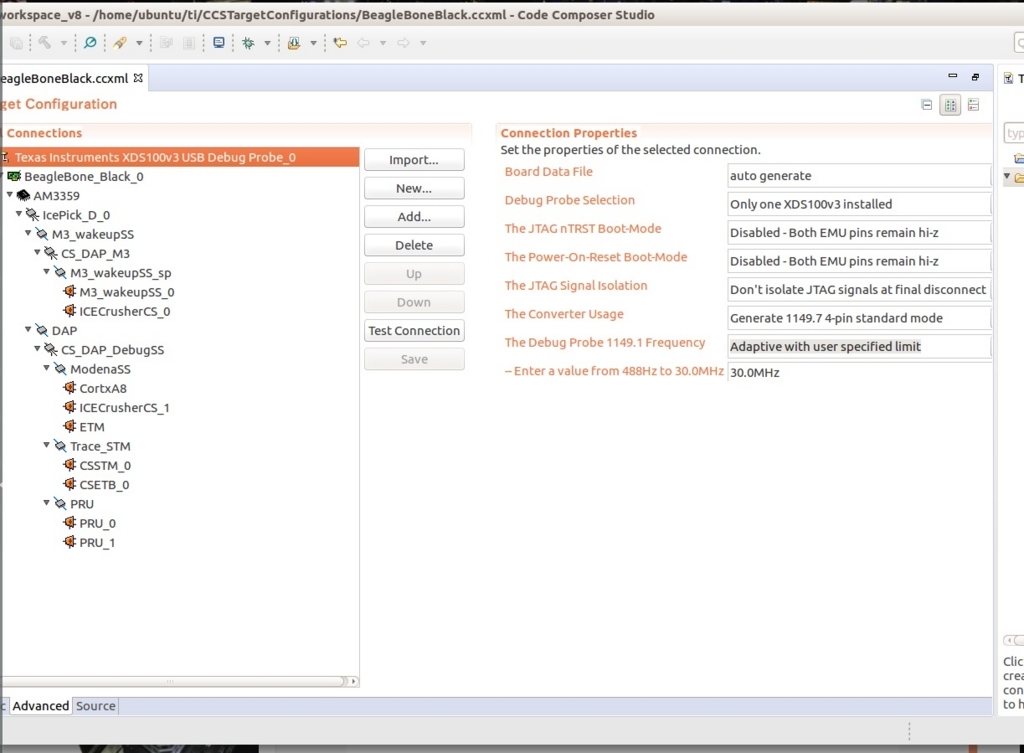
セットアップ画面になるので、ConnectionにXDS 100v3, BoardにBeagleBone_Blackを選択し、「Save」ボタンを押下する。
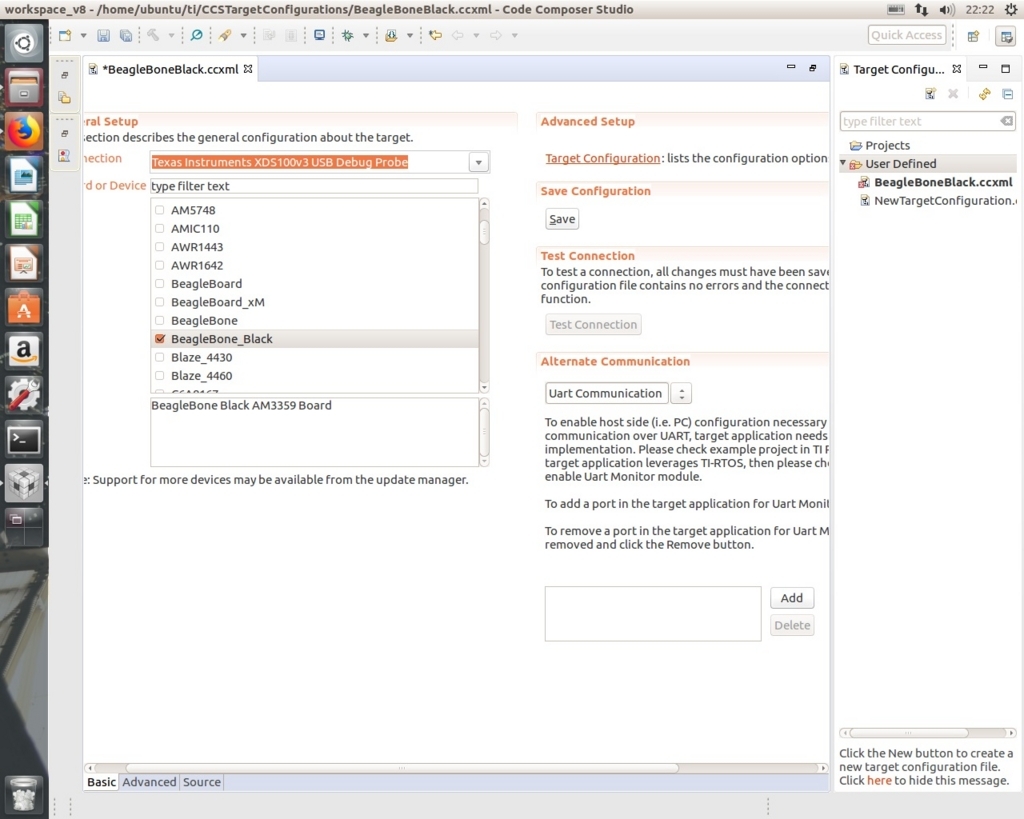
Advancedタブを選び、図のように設定する。
接続テスト
BeagleBoneBlackとXDS100を治具で接続し、XDS100をホストPCと接続する。
BeagleBoneBlackの電源を投入後、「Test Connection」ボタンを押下すると、接続テストが実行される。最後に「The JTAG DR Integrity scan-test has succeeded.」が表示されればOK。
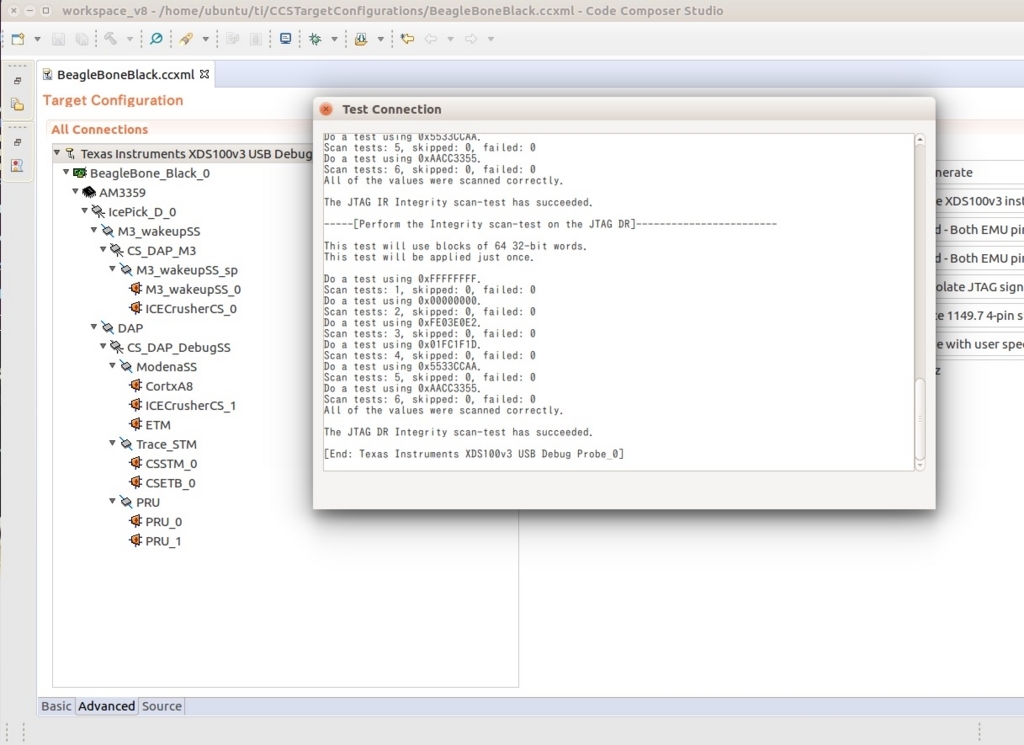
一応、全文を載せておく。
[Start: Texas Instruments XDS100v3 USB Debug Probe_0]
Execute the command:
%ccs_base%/common/uscif/dbgjtag -f %boarddatafile% -rv -o -F inform,logfile=yes -S pathlength -S integrity
[Result]
-----[Print the board config pathname(s)]------------------------------------/home/ubuntu/.ti/ti/0/0/BrdDat/testBoard.dat
-----[Print the reset-command software log-file]-----------------------------
This utility has selected a 100- or 510-class product.
This utility will load the adapter 'libjioserdesusbv3.so'.
The library build date was 'May 30 2018'.
The library build time was '22:46:22'.
The library package version is '8.0.27.9'.
The library component version is '35.35.0.0'.
The controller does not use a programmable FPGA.
The controller has a version number of '4' (0x00000004).
The controller has an insertion length of '0' (0x00000000).
This utility will attempt to reset the controller.
This utility has successfully reset the controller.-----[Print the reset-command hardware log-file]-----------------------------
The scan-path will be reset by toggling the JTAG TRST signal.
The controller is the FTDI FT2232 with USB interface.
The link from controller to target is direct (without cable).
The software is configured for FTDI FT2232 features.
The controller cannot monitor the value on the EMU[0] pin.
The controller cannot monitor the value on the EMU[1] pin.
The controller cannot control the timing on output pins.
The controller cannot control the timing on input pins.
The scan-path link-delay has been set to exactly '0' (0x0000).-----[The log-file for the JTAG TCLK output generated from the PLL]----------
Test Size Coord MHz Flag Result Description
~~~~ ~~~~ ~~~~~~~ ~~~~~~~~ ~~~~ ~~~~~~~~~~~ ~~~~~~~~~~~~~~~~~~~
1 64 - 01 00 500.0kHz O good value measure path length
2 64 + 04 38 30.00MHz [O] good value apply explicit tclkThere is no hardware for measuring the JTAG TCLK frequency.
In the scan-path tests:
The test length was 2048 bits.
The JTAG IR length was 6 bits.
The JTAG DR length was 1 bits.The IR/DR scan-path tests used 2 frequencies.
The IR/DR scan-path tests used 500.0kHz as the initial frequency.
The IR/DR scan-path tests used 30.00MHz as the highest frequency.
The IR/DR scan-path tests used 30.00MHz as the final frequency.-----[Measure the source and frequency of the final JTAG TCLKR input]--------
There is no hardware for measuring the JTAG TCLK frequency.
-----[Perform the standard path-length test on the JTAG IR and DR]-----------
This path-length test uses blocks of 64 32-bit words.
The test for the JTAG IR instruction path-length succeeded.
The JTAG IR instruction path-length is 6 bits.The test for the JTAG DR bypass path-length succeeded.
The JTAG DR bypass path-length is 1 bits.-----[Perform the Integrity scan-test on the JTAG IR]------------------------
This test will use blocks of 64 32-bit words.
This test will be applied just once.Do a test using 0xFFFFFFFF.
Scan tests: 1, skipped: 0, failed: 0
Do a test using 0x00000000.
Scan tests: 2, skipped: 0, failed: 0
Do a test using 0xFE03E0E2.
Scan tests: 3, skipped: 0, failed: 0
Do a test using 0x01FC1F1D.
Scan tests: 4, skipped: 0, failed: 0
Do a test using 0x5533CCAA.
Scan tests: 5, skipped: 0, failed: 0
Do a test using 0xAACC3355.
Scan tests: 6, skipped: 0, failed: 0
All of the values were scanned correctly.The JTAG IR Integrity scan-test has succeeded.
-----[Perform the Integrity scan-test on the JTAG DR]------------------------
This test will use blocks of 64 32-bit words.
This test will be applied just once.Do a test using 0xFFFFFFFF.
Scan tests: 1, skipped: 0, failed: 0
Do a test using 0x00000000.
Scan tests: 2, skipped: 0, failed: 0
Do a test using 0xFE03E0E2.
Scan tests: 3, skipped: 0, failed: 0
Do a test using 0x01FC1F1D.
Scan tests: 4, skipped: 0, failed: 0
Do a test using 0x5533CCAA.
Scan tests: 5, skipped: 0, failed: 0
Do a test using 0xAACC3355.
Scan tests: 6, skipped: 0, failed: 0
All of the values were scanned correctly.The JTAG DR Integrity scan-test has succeeded.
[End: Texas Instruments XDS100v3 USB Debug Probe_0]